HOW TO INSTALL A CAR AMPLIFIER FROM START TO FINNISH
How To Install A Car amplifier in Steps
STEP 1)
Before you learn how to install a car amplifier you must choose the right type of amplifier for the job. The Rockford Fosgate R500X1D is a great amplifier for the job.
A 1 channel amplifier or mono block amplifier is made generally for subwoofers, subwoofers create the bass frequencies that your interior car speakers cannot produce.
So its safe to to say that if you like how your interior car speakers sound but your missing the bass you want you need one of these amplifiers to power your sub/subs.
A 4 channel amplifier is generally used to power 4 interior car speakers. These are the speakers used to give you the vocals and the main part of the music you listen to.
If you’ve ever wanted to turn your system up a little louder without having to worry about that annoying distortion sound id recommend purchasing a 4 channel amp.
As a certified installer I recommend purchasing new in-car speakers to be installed with your amp as well because most factory speakers cant handle an aftermarket amplifiers power output.
STEP 2)
mounting locations are very important to consider, Every vehicle is different so mounting options will change with each vehicle model.
The main things to consider are ventilation for the amp, how your securing the amp and serviceability. Make sure you have a clear path to run your wires and a verified grounding location within 13 inches of the amp before mounting.
STEP 3)
Running your wires are more important to the amps well being than anything else.
A four channel requires 2 sets of rca inputs from behind the after market radio as well as when you connect a hi low converter (if radio is factory).
I strongly recommend running your rca wires on a separate side of the vehicle than the side you used to run the power wire as to not create distortion.
A subwoofer amplifier only requires one set of rca to be ran behind your aftermarket or to your hi low converter, because it reproduces low frequencies it will not pickup feedback from your rca cables and they can be ran on the same side of the vehicle.
Locate the ground wire in your amp wiring kit and attach it to the amp as well as the amp turn on wire. after mounting the ground wire to the amp you can ground it to the vehicles chassis within 13 inches of the amplifier.
drill a hole in the location where you intend on grounding to, sand back the paint until you see bare metal and screw the ground terminal down to the vehicles chassis.
Next, its time to run the power, remote wire and rca.
locate a spot in the vehicles firewall to drill a hole big enough to run your wire threw to get to the vehicles battery, split loom the cable and run it to the battery’s location.
It is important you remove the fuse before attaching to the positive terminal on the battery. After the power wire is secured to the batteries positive post you can insert the fuse.
The remote wire and all rca wires must be ran to the back of your aftermarket radio (or hi/low converter for factory radios).
If the hi low does not have its own amp turn on signal then you must connect the amp turn on wire to an accessory source on the vehicle that only powers when the vehicle has a key in the on position,
If the vehicle has an aftermarket radio in it there will be a (blue/white) wire on the radios wiring harness that is dedicated to turning on the amp that you can connect your amp turn on to.
STEP 4)
Wiring up your sub and tuning your system for the final touches.
After you’ve connected all wires it is now time to mount your sub or subs to your enclosure and connect your speaker outputs from the amp to the sub enclosure.
This is done a few different ways depending on whether or not you have a 2 channel or a single channel amp. The guys over at The 12volt have an excellent wiring diagram that i use whenever i have any questions.
If your installing a 4 channel amp you now must run the output wires from your amp to each speaker or strait to the factory side of the harness behind your radio and connect to the corresponding wires.
What Do I Need To Install A Car Amplifier
TIP # 1:
What Wires Do I need to Install A Car Amplifier?
Typically when purchasing a wire kit for an amp install you must first determine how much wattage the amplifier can produce, your power and ground wires that come with the kit produce small amounts of resistance for every foot of length. Your job is to find power and ground wiring that can still carry the proper amount of power from the battery to the amplifier. Additionally your kit should have a pair of RCA wires (for connection to your aftermarket deck), a remote wire (connects to your aftermarket radio to turn on your amplifier), a fuse with the fuse holder (this fuse provides safety to the vehicles electrical system) and lastly a negative ground wire. Amplifiers must be wired with the appropriate sized power and ground wires so ive included a guide with recommended kits ive installed below:
0 GAUGE: Recommended for 1500 watts RMS and above.
Recommended 0 Gauge wiring kit: SK101
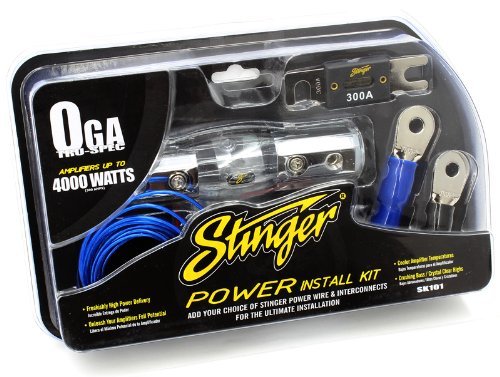
4 GAUGE: Recommended for 800-1500 Watts RMS.
Recommended 4 Gauge wiring kit: 09CK44
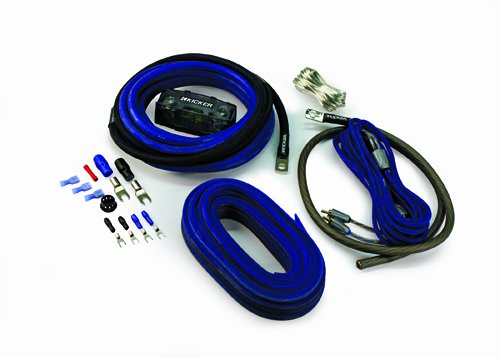

8 GAUGE: Recommended for 300-800 Watts RMS.
Recommended 8 gauge wiring kit: 09DCK8
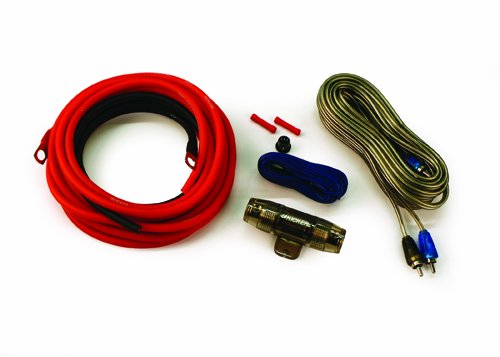

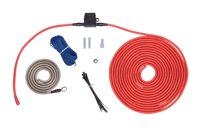
10 GAUGE: Recommended for 20-300 watts RMS.
Recommended 10 Gauge wiring kit: RFK10

TIP #2)
What tools do I need to install A car Audio System?
This is a tough question. I have over 2500 worth of tools at my shop and but I only use about 1/4 of them everyday. When installing an amp you need to take apart your dash to get to the back of your radio and the floor kick panels in order to run your wires throughout the vehicle. You need to drill a whole in the vehicles fire wall in order to get into the engine bay to tap into the batteries positive battery post. Iv’e developed a list of products that all DIY installers should have for all installs whether your installing an amp, deck or speakers:
Panel Remoal Tools
Panel tools help to remove the trim around the radio, door panels and kick panels in order for you to safely install your audio system, they also lessen the chance of panels braking or cracking in the process.


Wire Stripping tool


Wireless Drill


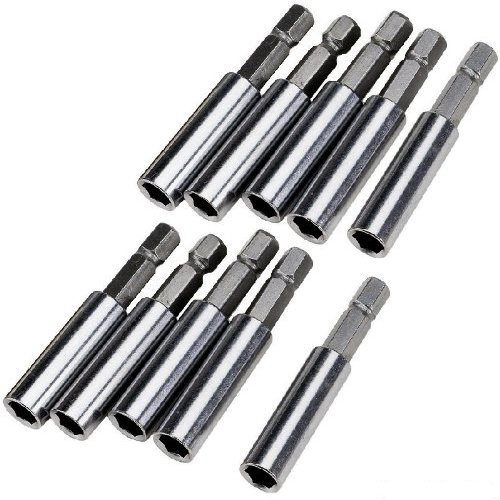
Phillips & Magnetic Bit Drivers

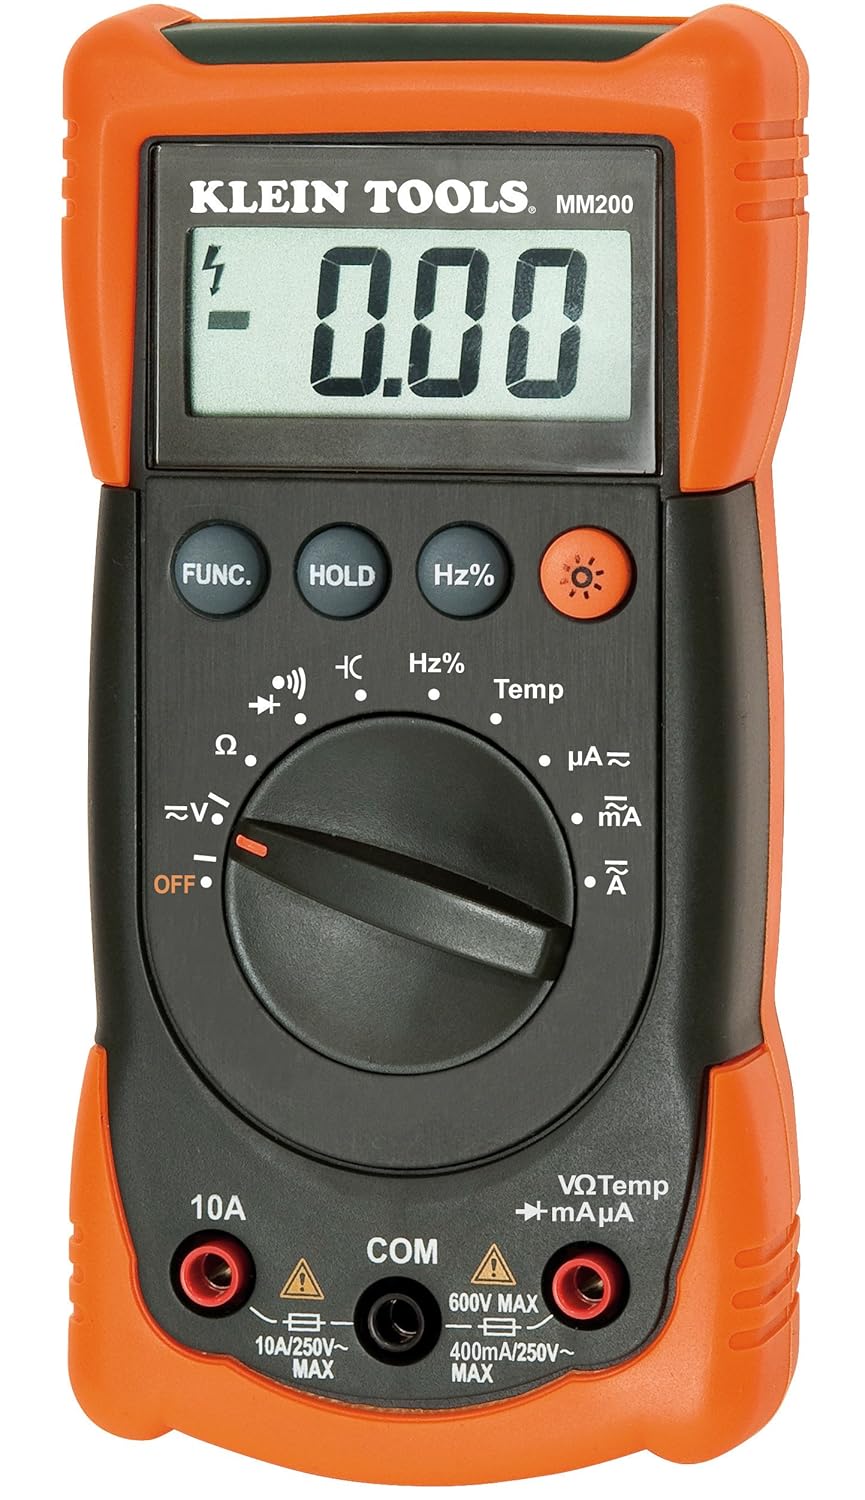
Digital Multimeter
A digital multi meter is something you should always have, there might be times when you need to find the correct wiring for a job your doing and the guide your using to find a wire or set of wires is wrong. There are hundreds of uses for a multi meter, I use my multi meter at least 5 times a day, I use it to find a sufficient ground for an amp or to test for specific power wires behind a radio Im installing. The list goes on. This is one of the inexpensive ones that actually works so i always keep it with me just in case:

Let Us Plan Your Next Car Audio Installation
ForAudioGeeks.com has launched a new tool that all DIY installers can use to get a professional car audio installation plan free! We do the hard work of finding your vehicle specific installation parts, we also recommend products such as radios, speakers, amplifiers and so forth for your installation plan. We then provide you links right to the products you need along with a few installation tips we use as certified car audio installers! The best part of this is its free!
To get started, fill out the form below in its entirety and include the type of sound you would like to get from your plan. For example, you might want more bass or more punch out of your door speakers. Indicate anything you feel is important for your audio plan so that we can more accurately help you plan your system. If you have any questions check out Audio Plan Page.

