START YOUR CAR AUDIO SYSTEM WITH A NEW RADIO
[The beginning of an audio system]
The beginning of an audio system upgrade should be your sound source (what you use to play you music).
Your sound source (radio) should provide the features you need to add on your various amps and subs if needed, even extra features like HD radio, XM radio and bluetooth are some of the options you should think about and consider purchasing as features in your new radio.
A lot of the time just changing your factory radio out with a new radio makes a lot of difference in the quality of the sound making your daily driving that much more enjoyable.
This is important information to know before you learn how to build a car audio system.
[Find Products That Fit Your Vehicle]
If your a D.I.Y installer visit your local Car Audio installation business in order to find out what size equipment you can fit into your vehicle without heavy fabrication.
As long as you have the proper tools and parts you can learn how to build a car audio systems, Or you can use Amazons fit-guide.
Their fit guide allows you to type in your vehicles year, make and model to find out exactly what fits directly from your smartphone, tablet or computer.
[What Installation Part You Need]
After you find out what fits into your vehicle you must find out what parts you will need (if any) to hold the speakers and/or radio you are purchasing in the dash and door panels, some vehicles use (iso mount) and don’t require a dash kit to mount the radio into the factory location.
This usually requires you to have the factory radio brackets or the cage you new radio came with (assuming its new). If the question still remains, “what do I need in order to install my new radio”?
Here is a list of what you will need to install a car radio assuming you have the tools to help you learn how to build a car audio system:


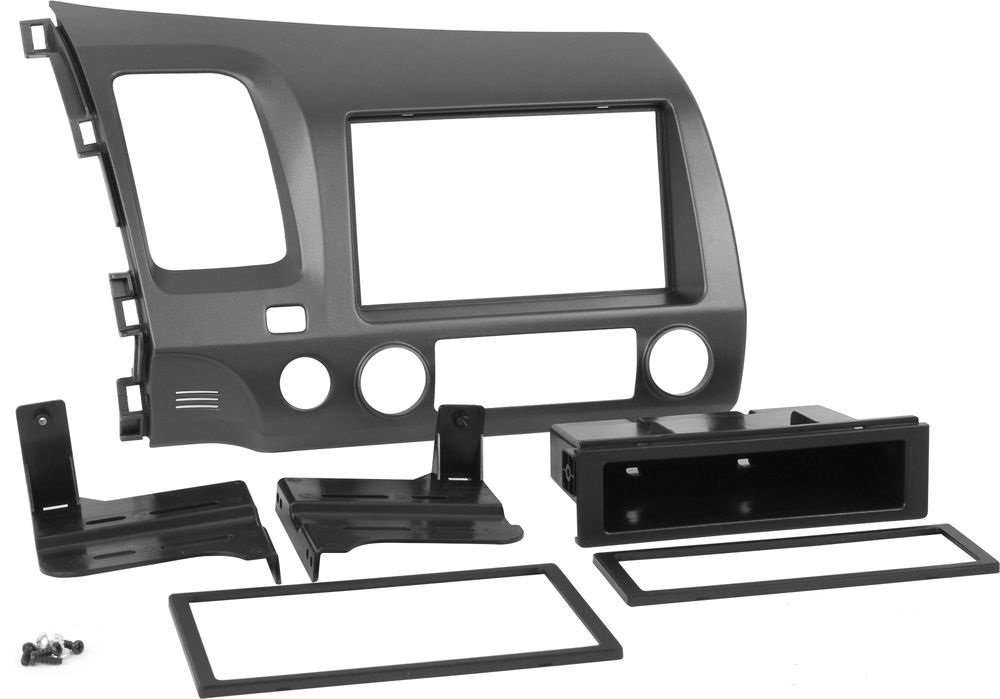
Dash Kit
(preferably by Metra or Scoche). This kit will have the dash dis assembly instructions as well as re assembly instructions available with it.
Do a search here to find out what kit you need by typing in your (Year, make, model) in the search bar.


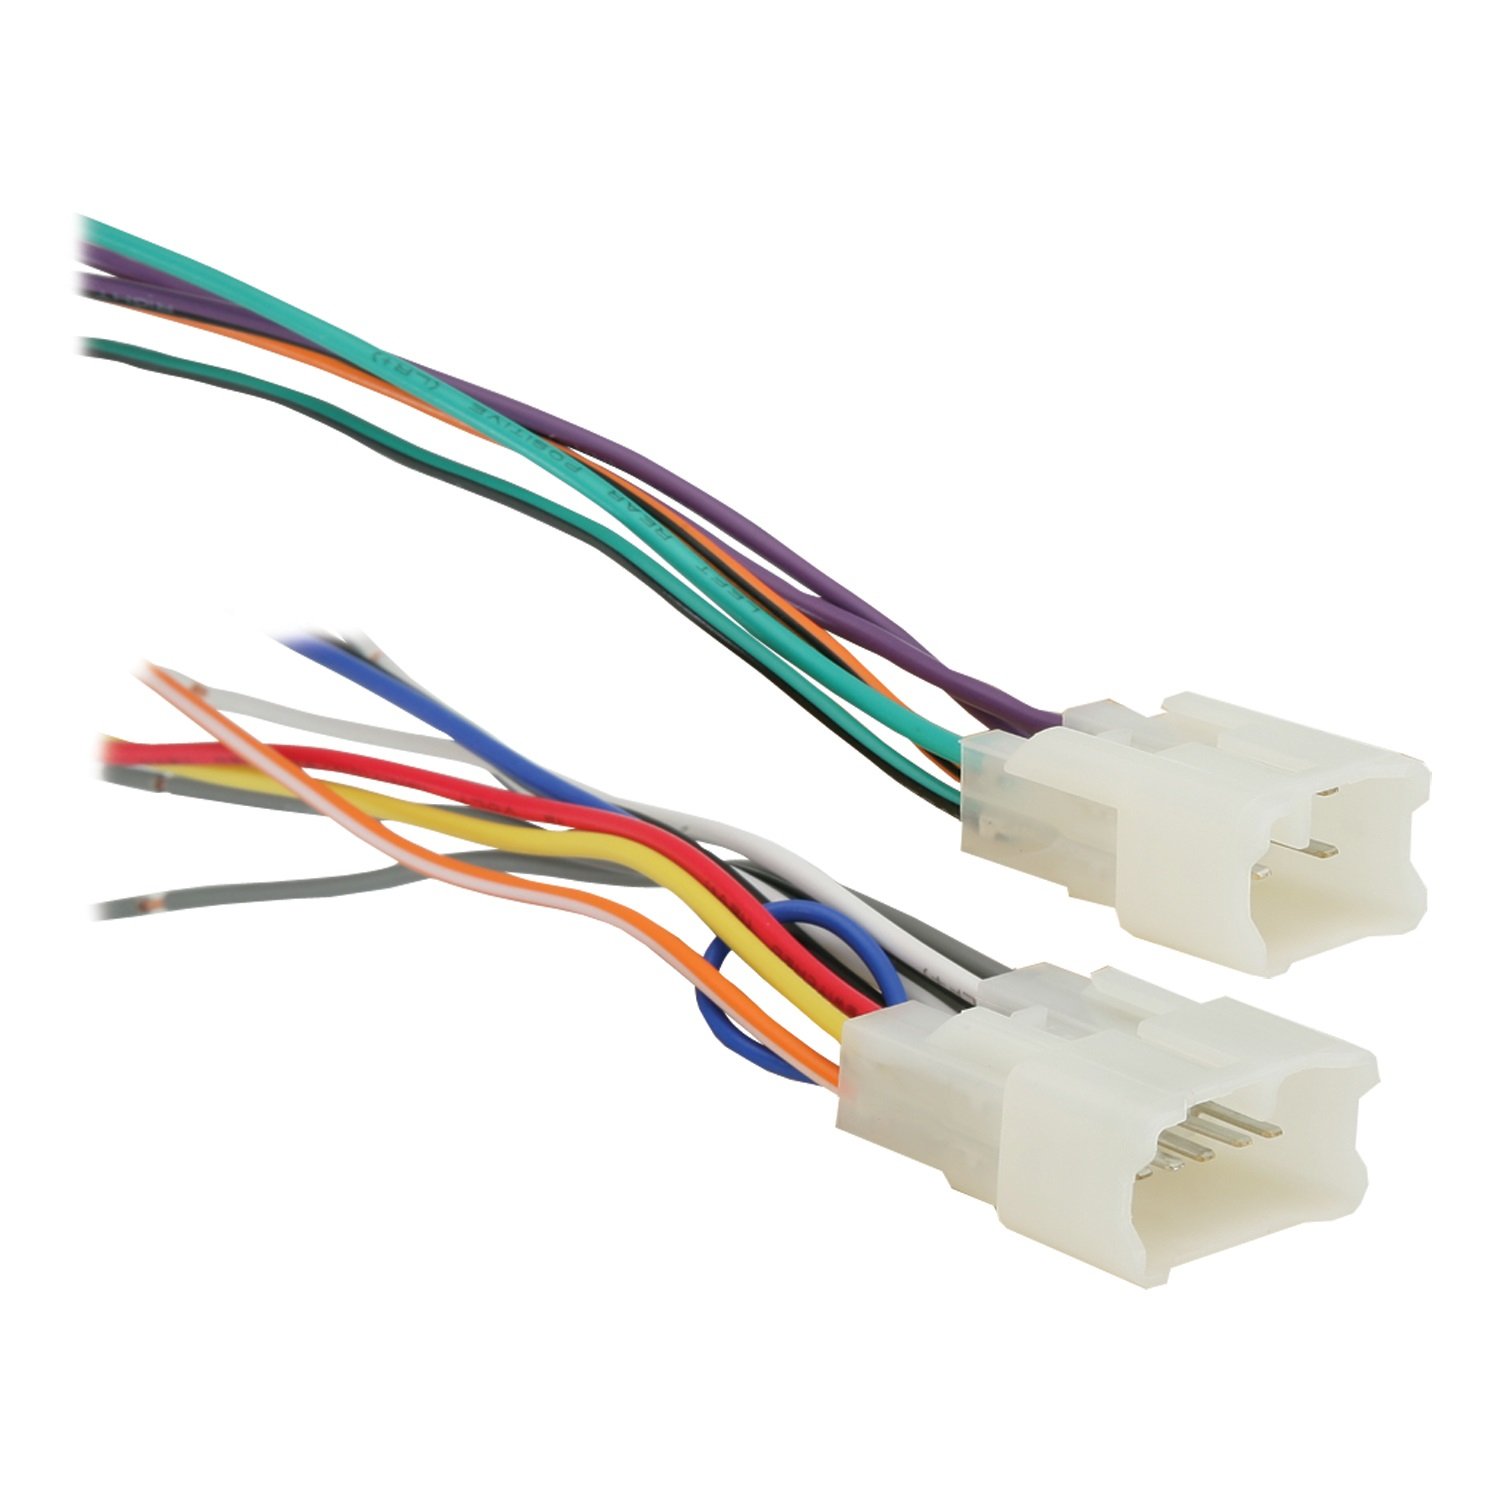
Wiring Harness
This is used to connect everything up electronically. It is vehicle specific and can tailored specifically for your year make and model. Some harness’s even have the ability to bypass or integrate with your factory amplified system, chimes, rear seat entertainment systems, vehicle speed sensors and so forth. Do a search here to find out what harness you need by typing in your (Year, make, model) in the search bar. If you you would rather save some time finding the products you’ll need for installation let us find your product and parts for you free here!


Antenna Adapter
This is used to create a connection from your factory antenna into your aftermarket radio. Without an antenna adapter you will not get any radio reception be it AM or FM. Some vehicles do not require antenna adapter because they already have the proper Motorola style connector that your aftermarket radio needs. Do a search here to find out what antenna adapter you need by typing in your (Year, make, model) in the search bar. If you are ready to install your new radio check out my step by step radio install guide after you’ve purchased the necessary parts.
HOW TO BUILD A CAR AUDIO SYSTEM – INSTALLING NEW SPEAKERS


[CHANGE OUT YOUR CAR SPEAKERS]
The second easiest thing to do is to swap out your factory speakers with a better built set that can take a little more of a beating, this is always recommended when starting a high fidelity system especially if your intending on amplifying the sound coming from your stereo.
There are several different speaker sizes and depths depending on the year, make and model of the vehicle you are working with.
There are a few different types of speakers used in the car audio world, coaxial speaker, component speakers and subwoofers. The main difference between these different speakers are their sizes and frequency response.
[What will I new car speakers do for me?]
Car speakers are the second step in your quest in good quality audio, the first thing you’ll notice after they have been installed is that your system isn’t as “bass heavy” as it used to be.
This is due to the parameters of your new speakers and their efficient nature, companies that make aftermarket speakers understand what frequencies speakers can produce safely and efficiently.
The vast majority of the bass frequencies your factory speakers produce create excessive amounts of distortion at high volumes causing them to blow.
HOW TO BUILD A CAR AUDIO SYSTEM – AMPLIFYING YOUR SYSTEM


[Understanding Amplifiers]
Yea sure there are 5 channel amps that work pretty well but I’ve always went with separate amplifiers for different types of speakers.
There are is no factual reasoning behind my madness, honestly it feels as though i have a little more control over my audio system this way, so I’ve stuck to it.
A 4 channel amp is generally made with coaxial and component car speakers in mind, some of them have whats called a “low pass filter” that allows sub woofers to be wired to them.
As I previously stated, I tend not to recommend using 4 channel amps in that application If i can avoid it.
[Why We Recommend Amplifying]
Now, back to what I actually DO recommend. All amplifiers should have a peak power measurement and an RMS or CONTINUOUS power handling measurement on the box or in the installation manual.
These measurements are very important and can almost always determine how to properly use them.
For an example, a four channel amp that has a peak power of 1000 and a RMS handling of 500 X4 shows that this amplifier can (if powered properly with a fully charged battery) power 4 speakers that need up to 125 Rms themselves.
The reason we know this is because of the nature of the amplifier, the amp is made to power 4 speakers (4 channel), we would divide the RMS (500) by the amount of speakers it is able to power and you would get 125 watts rms!
2 channel and Mono Amps are very similar but contain different settings and efficiency options, they are used to power one or more sub woofers and generally have built in low pass filters that limit the amplifier to only put in frequencies that are not detrimental to the subwoofer/s.
[What 4 channel Amplifier do we recommend?]
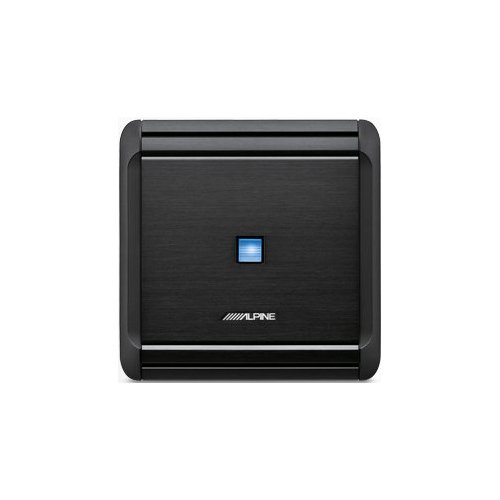
I’ve attached a picture of an example of a 4 channel amplifier by alpine, this is one the more respected mid end amplifiers I’ve installed.
The cool thing alpine did with this amplifier is offer an internal hi-low converter so that installers can use this amp on factory systems and not just aftermarket systems.
A hi-low converter basically takes standard high level input and converts it into low level (RCA) input so the amplifier can use the signal from your radio effectively.
Do a search here to find the perfect amplifier for your vehicle or search through our reviews by returning to our home page. Learn how to install a subwoofer amp and 4 channel amp here


HOW TO BUILD A CAR AUDIO SYSTEM – ADD A SUBWOOFER
There are two different types of sub woofer buyers, the buyers that want loud bass and the buyers who are just looking to bring a nice full bass presence the their system. Its important that you figure out which buyer you are before you make your purchase, customers often don’t find out that the system they purchased is too much for them or not enough for them audibly until it is already installed and tuned.
[Why do I need a subwoofer?]
I personally am a huge fan of loud base, I like to make my presence known at every stop light during the day and I also have a pretty respectable size 4 channel amplifier that keeps my car speakers at a level that sits perfectly with my bass.
For those customers who want a nice sound that isn’t as loud buying a low wattage set up is key.
The rule of thumb i use when recommending product is if you would like just a little more bass to fill the vehicle i would go know more than 300 watts rms, if you want a little more bass to enjoy at louder volumes id go between 300-800 watts rms.
Anything above 1000 watts rms is considered competition power and can begin to start rattling panels and draw alot more amperage from your alternator.
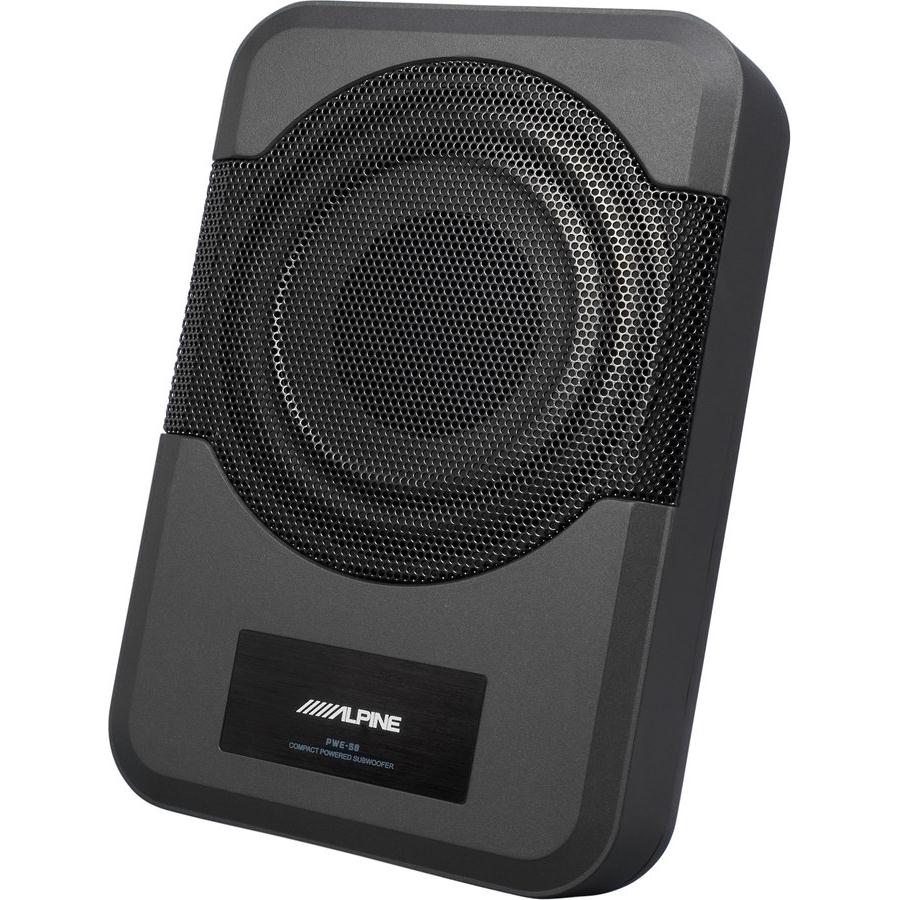
If you are looking for just a little bit more bass i recently did a review on a pretty well respected self powered subwoofer that i recently installed. Read my alpine Pwe-s8 subwoofer review here.
How much power do I want from my Subwoofers?
For bass addicts like me you might want to look into the 1000 watts range. You should always think about the type of sound you want when planning out any car audio install.
This is the first key to learning how to install a car audio system. So Kicker makes a line of dual loaded sub enclosures with pretty strong subwoofers already installed in them.
The comp s dual subwoofer loaded enclosure is a nice entrance into the car audio worlds bass section if your looking to turn some heads.
Each subwoofer in the enclosure runs fully at about 500 watts rms which brings the total rms to about 1000 watts rms (assuming your battery is working at 100% efficiency).
They come pre wired in the box and the box is beautifully carpeted by the way. Here is a picture of it below, I’ve provided detailed information on the set up complete with specs installation tips here in the Kicker comp 12 review.
To get started, check out our audio plan page and take a look at some of the information we need. After you’ve gathered the info we need, send us a message via facebook and Include the type of sound you would like to get from your plan.
For example, you might want more bass or more punch out of your door speakers. Indicate anything you feel is important for your audio plan so that we can more accurately help you plan your system. If you have any questions check out Audio Plan Page.


